This series was written and created by Sarah Mohrman, RDN, LD, MA, dietitian, program coordinator, PPG – Cardiology.
In Week 1 we talked about what you could add into your diet, rather than thinking about taking things away. In Week 2, we’ll focus on identifying hurdles and establishing a new routine and environment so that the plant-powered option is the simpler option.
Week 2 challenge: Set up for success
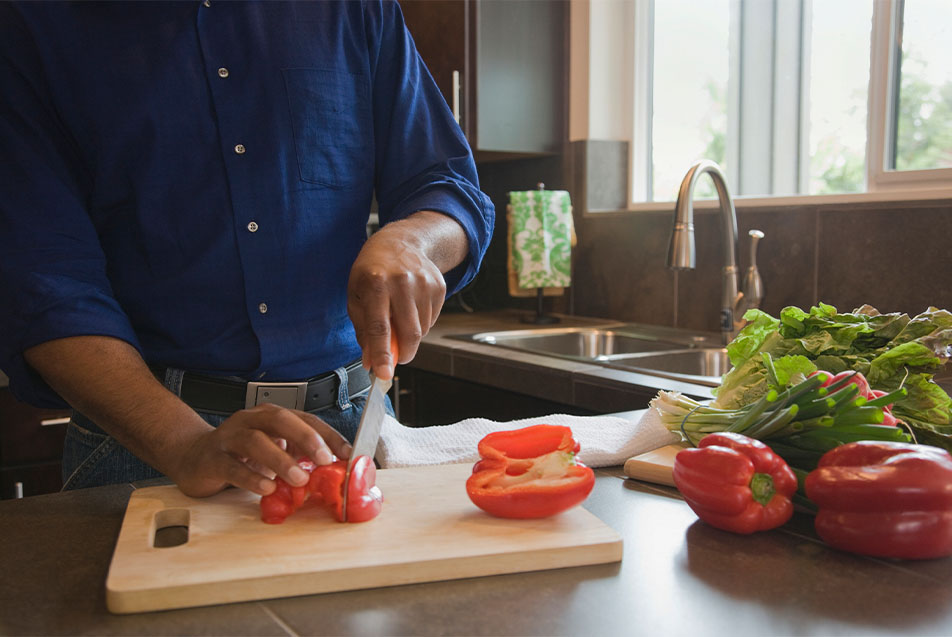
Food preparation often is one of the biggest barriers to healthy eating habits. Many people find it cumbersome to chop fruits and vegetables as they need them, so instead they just leave them out of the meal altogether. Let’s think about how you can set yourself up for success by making this process easier during your busy week.
The way to win is by making the healthy choice the easiest choice. A simple strategy is using fruit and veggie bins. Start off with two containers of fairly similar size. Label one of them “Veggies,” and add the chopped-up vegetables you plan to use in salads, as sides or to snack on during the week. Label the second “Fruits,” and place your washed and cleaned berries and other fruits you want for the week in here.
The best time to accomplish your fruit and veggie prep for the week is right when you get home from the grocery, before they get buried in the fridge. Keep your fruit and veggie bins at eye level so when you’re hungry and looking for a snack, they are the first thing you see when you open the refrigerator. And when you’re in a time crunch, you can pull these bins out and whip up a quick side or lunch option.
Spend some time this week thinking about the other obstacles making it difficult to prioritize plants. Are there some common or simple solutions you can apply to set yourself up for success?
Recipe to try
Crispy Chickpea "Chicken" Sandwiches
1 15-ounce can low sodium chickpeas (garbanzo beans), drained
1 tablespoon olive oil
1/3 cup low sodium vegetable broth
2 tablespoons coconut aminos
1/2 cup vital wheat gluten
1/3 cup panko breadcrumbs
1 teaspoon poultry seasoning
Pinch of black pepper
1 cup breadcrumbs, for coating the outside
1.Preheat the oven to 400 degrees.
2.Add chickpeas to a large mixing bowl. Smash all the chickpeas with a fork or potato masher. Make sure they are all mashed.
3.Add the olive oil, veggie broth, coconut aminos, vital wheat gluten, panko and seasonings to the mixing bowl with the smashed chickpeas. Leave the extra breadcrumbs out; you will use them later.
4.Mix everything together with a spoon, and then once everything starts to come together, begin to mix with your hands and then knead the mixture for about 2 minutes. It should become firm and hold together very well.
5.Place 1 cup of breadcrumbs in a bowl. Divide the chickpea mixture into 3-4 parts, depending on how large you want your patties. Roll each part into a ball, then press out flat.
6.Press the patties down into the breadcrumbs on each side, coating the patties in the breadcrumbs. You may need to press down hard to get them to stick.
7.Place each patty on a baking sheet sprayed with nonstick spray. Then spray the tops of the chickpea patties with nonstick spray as well.
8.Bake at 400 degrees for 30 minutes. Flip the patties over after 15 minutes. Bake until the patties are firm, crispy and brown.
9.When the chickpea patties are done, serve on a whole wheat bun.
Serves 6
Nutrition facts (without whole wheat bun): 158 calories, 3gm fat, 0gm saturated fat, 364mg sodium, 23gm carbohydrates, 5gm fiber, 9gm protein


