Warmer days are on the horizon, but if you can’t wait for fresh produce, Camille Schuelke, greenhouse specialist, Parkview Community Greenhouse and Learning Kitchen, shares her expertise for starting a lovely indoor garden.
Making it micro
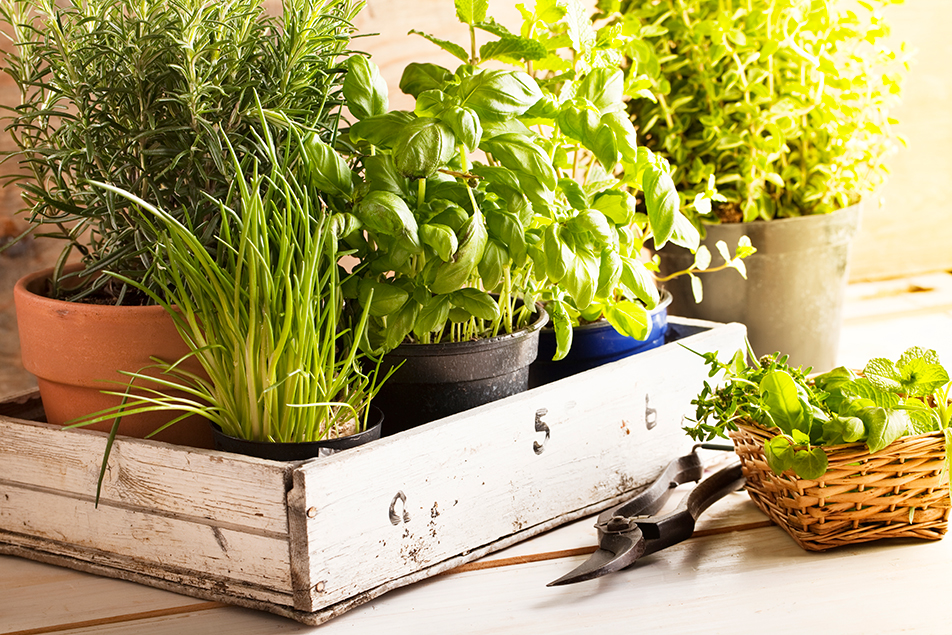
Microgreens are a great way for everyone, from beginner to seasoned grower, to experiment with and enjoy gardening in the colder months. Depending on what you grow, you can sew the seed in potting mix and watch it sprout within 10-25 days. Cut and enjoy them and then plant more!
The following are great plants to try as microgreens:
- basil
- cilantro
- dill
- fennel
- celery
- parsley
- kale
- arugula
- mustard greens
- dandelion greens
- pea shoots
- sunflower shoots
- broccoli
- cabbage
- collards
- mustard greens
- beet tops
- Swiss chard
- scallions
You can harvest your microgreens in two weeks and try something else, or resew the same thing. These plants are perfect for enhancing the flavor of your go-to dishes. Growing microgreens is also a popular thing to do with kids because they get more instant gratification with this process than, say, growing a tomato, which can takes weeks. You can even find kits online.
The right light
When growing inside, one of the hardest things to do is get light. Most people put their planter box next to the window, where it’s cold. You definitely want to avoid placing your microgreens right up next to the chilly glass.
Microgreens only need 4 hours of light per day, as opposed to outdoor plants, which need up to 12 hours a day. To ensure they are still getting enough light but not freezing, place the box 6 inches-2 feet away from the window. Inevitably, you’ll get something on the floor, so put something down on the table or floor, or put them over a surface that’s easy to clean. It’s also wise to avoid high-traffic areas.
Planting perfection
Creating a planter box can be as simple as putting some potting soil into a tinfoil pie pan with a few holes poked in the bottom. You want to make sure the soil is 1/2-1-inch deep, then sprinkle the seeds over it, like salt and pepper. You don’t have to cover the seeds with soil, but you can. Then, mist them with water from a spray bottle every day. Place something, such as a plate, underneath the tin or box to collect any water.
A few thoughts on starting garden plant from seed
Some people like to start their seeds inside then transfer them outside when the weather is appropriate. These plants, such as tomatoes or peppers, will need a lot more light than the microgreens once the seedlings pop. This is where grow lights come in handy. A traditional light won’t work, but you can find grow lights online for around $50. This time of year, you can start tomatoes, cabbages and peppers.
My preference is to buy plants from a trusted local grower, such as Young’s or Country Gardens, in the spring. What happens is, most people aren’t set up for growing these plants inside, and when the produce doesn’t take off, they get discouraged and don’t want to garden in any capacity.
It’s important to purchase your plants from a local grower because they put them outside to “harden off” before selling them to customers. When plants are shipped from the Kentucky/Tennessee area, where it’s warmer, they aren’t hardened off, so they’re more susceptible to environmental issues. If we have a cold snap, for example, it could kill them. Whereas local farmers follow a specific hardening process.
First, they take the plants from the greenhouse and put them in a shady area to get used to the outside temperatures. That way they don’t get scorched by the sun. After a certain amount of time, they move them out into the sun. At that point, they’re hardened off and ready for your garden.